Realistic Fire Animation
m (→Gallery: typo) |
m (→step 3: some hot zones: typo) |
||
| Line 61: | Line 61: | ||
| − | Congratulations. You're ( | + | Congratulations. You're (already) done! Render and enjoy. |
| − | + | ||
==Fine tuning & fooling around== | ==Fine tuning & fooling around== | ||
Revision as of 05:52, 10 May 2010
Contents
Introduction
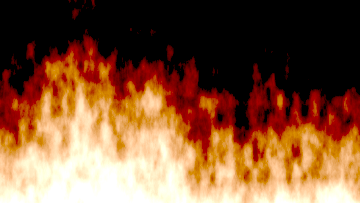
This tutorial will guide you in making a realistic fire animation with Synfig. The final animation is online at vimeo. Check out the links in gallery below to see other videos exploiting this technique!This tutorial is not "advanced" as in "difficult", but it requires that you are familiar with the Synfig interface and tools, as these will not be covered here. Start with the more basic tutorials and keep an eye on the Manual if you are not familiar with terms such as "Blend Method" or "Encapsulate".
For alternative set-ups, additional settings, variants and more, kindly refer to the talk page.
The basic idea of the technique we'll be using is inspired from the tutorial "Fire in Photoshop", by Eros:
- a vertically moving background, filled with black & white clouds (i.e.: noise). The light areas will become bright, yellow flames, and the dark ones will become red-ish flames.
- a fixed mask to darken the top of the fire, hence extinguishing the flames (i.e: a black & white vertical gradient)
- an orange color layer to turn on the heat
step 1: a static fire
Start with a blank Synfig file, any size will do. To match a good-looking widescreen ratio this tutorial uses 360x203.
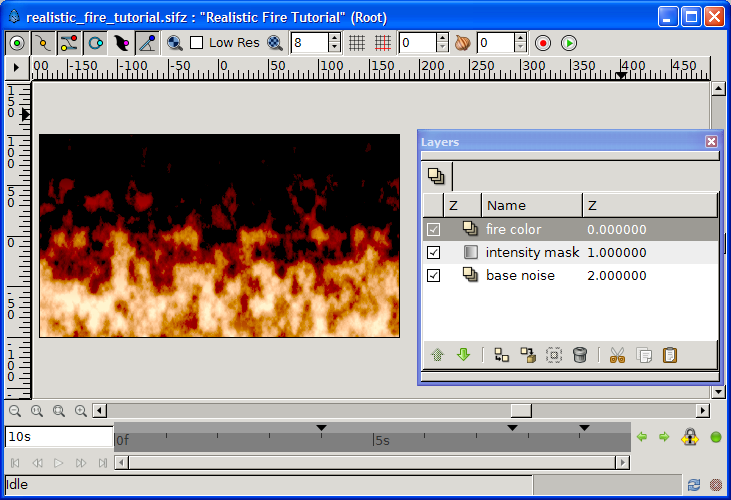
- Add a new black & white Noise Gradient Layer, name it base noise and change its size to 20x35pt... as flames are vertically oriented.
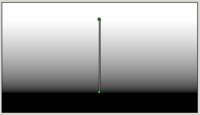
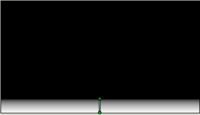
- On top of base noise, add a Linear Gradient Layer, name it intensity mask, and move the gradient point 1 & point 2 to leave some white space on top and some black space below, as illustrated in the picture. Change its blend mode to subtract.
- On top of intensity mask, add a Solid Color Layer, name it fire color. Change its color to some warm orange, we used #ff6700, and its blend mode to color.
- Change the amount of both fire color and intensity mask to achieve an effect you like. We used amounts of 0.7 color and 1.4 mask to achieve the result illustrated in the picture at the end of step 1.
step 2: bring it to life!
Bringing this fire to life is about moving the base noise upwards. Therefore we
- Encapsulate base noise and rename the new group into moving base. Make it move upward by converting its origin to Convert and setting the origin slope to 0x200pt.
At this point you can preview a few frames, to appreciate the effect of moving flames... and quickly notice how dull and boring it looks: the flames fade away when rising but lack of movement and surprise. Let's add some!
The idea of the technique used in this tutorial is to brighten zones that will become hot, yellow flames, and darken zones that will be dark, red flames. As moving base does just that being a black and white cloud, we'll apply the same steps again to add some irregularities:
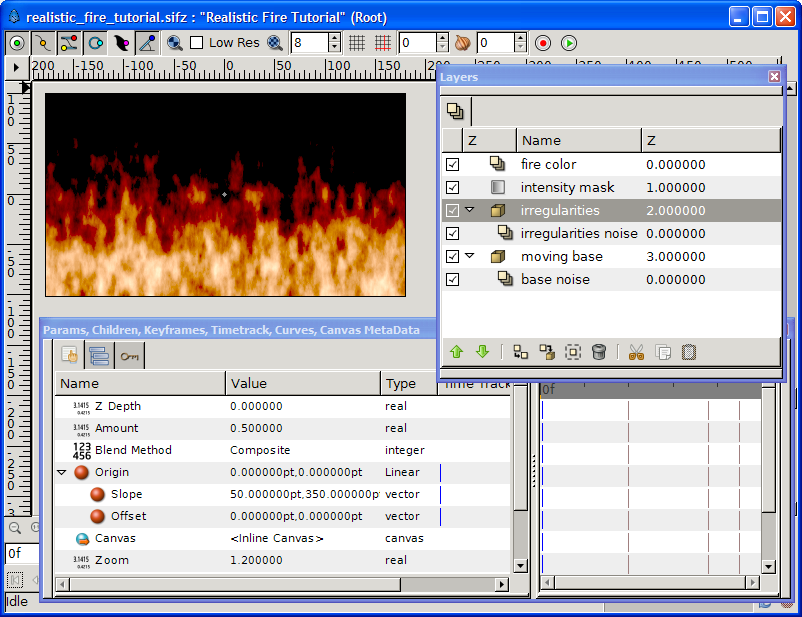
- Duplicate the moving base layer, rename the new group into irregularities, its contained noise to irregularities noise and raise it above moving base. Change all the settings we adapted before:
- Change irregularities noise RandomNoiseSeed to anything else (eg. drop the last figure) and size to 5x15pt
- Change irregularities origin slope to 0x350pt, amount to 5 and zoom to 1.2
A snapshot of these last settings is given in the picture at the end of step 2.
step 3: some hot zones
To complete this tutorial, we will add some hot spots at the base (figuring the source of the flames) and left of the fire, to make it less rectilinear. This is done by slightly brightening some areas underneath the fire color layer.
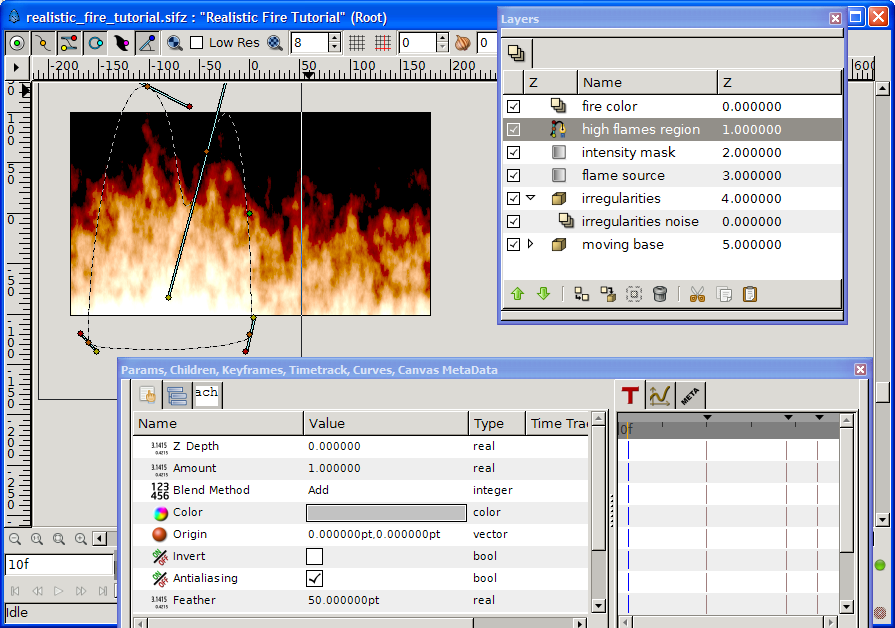
- Add, above irregularities group, a new Linear Gradient Layer. Rename it flame source and move its gradient point 1 & point 2 to leave no white space at the bottom of the frame, and huge black area on top, as illustrated in the "flame source layer" picture. Change its amount to 0.6 and blend mode to add.
- Below layer fire color create a new BLine Region (no need for an outline) of a shape where you want brighter flames (have a look at the picture at the end of this step for an example) and rename it high flames region. Changes its Feather Parameter to 50pt, its blend mode to add, and its color to some light gray (eg #8c8c8c).
Congratulations. You're (already) done! Render and enjoy.
Fine tuning & fooling around
Various settings allow you to achieve very different fire types and effects. Contribute to this section or discuss them in the talk page!
Some "easy" tailoring include:
- play with the gradient of base noise to change the ratio between bright and dark flames.
- tune the irregularities zoom, amount and blend mode to get a wild aggressive fire (0; 0.4; hard light) or something more voluptuously quiet (1.9; 0.5; composite)
- make your high flames more realistic by coloring the high flames region with a vertical gradient, dark grey on top, white at the bottom.
- simulate wind (ie. change the direction of the flames) by adapting the slope of moving base and irregularities.
A few fun but less realistic tunings:
- play with the color of fire color to get a blue or pink fire.
- check turbulent of base noise to get a psychedelic effect.
- set any place of the picture to fire just by adding a light gray spot below fire color anywhere, just as we did high flames region in step 3.
Gallery
You used this technique? Leave a link here and a few hints in the talk page!
- Everything burned... even the text, in Raging Fire, the source of which can be found in the Synfig forum.
