Difference between revisions of "User:Zenoscope"
| Line 10: | Line 10: | ||
http://wiki.synfig.com/Adding_Layers | http://wiki.synfig.com/Adding_Layers | ||
| − | + | Image from this tute aren't in the right format :( | |
| − | + | ||
| − | + | ||
| − | + | ||
| − | + | ||
| − | + | ||
http://wiki.synfig.com/Building_a_magnifying_glass | http://wiki.synfig.com/Building_a_magnifying_glass | ||
| + | Need to be saved as (whatever the default format for JPG in Gimp is) as the ones Dooglus (and others) have uploaded are not displaying properly. | ||
Finish off: | Finish off: | ||
| Line 50: | Line 46: | ||
|} | |} | ||
</nowiki> | </nowiki> | ||
| + | |||
| + | [[Image:Test.jpg]] | ||
| + | [[Image:Test.png]] | ||
Revision as of 09:54, 29 September 2007
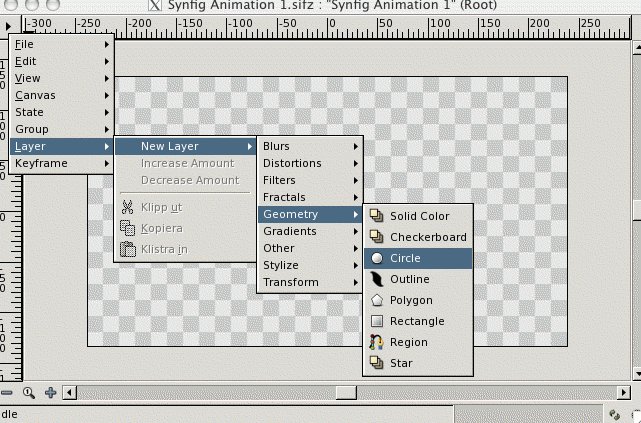
Zenoscope is really a thousand monkeys, sitting at a thousand keyboards, taking screenshots. With luck, one may turn out to be a decent one with some relevance to Synfig.
Reminders:
Stuff to add images to:
http://wiki.synfig.com/Building_a_magnifying_glass
http://wiki.synfig.com/Adding_Layers
Image from this tute aren't in the right format :( http://wiki.synfig.com/Building_a_magnifying_glass Need to be saved as (whatever the default format for JPG in Gimp is) as the ones Dooglus (and others) have uploaded are not displaying properly.
Finish off:
http://wiki.synfig.com/Getting_Started
Stuff to complete: (with apologies to Tominator)
http://wiki.synfig.com/PictureTutorial since mine is quite similar and is finished.
http://wiki.synfig.com/Special:Wantedpages
Cheats: {| border="0" cellspacing="0" align="center" width="100%" | Your text goes here |} {| border="0" cellspacing="0" align="center" width="100%" | This makes a table with multiple vertical cells |- | Another cell goes here. |- |}

