Brushes
Contents
Introduction
The Outlines that you can draw with Synfig are formed by a rounded brush. The brush is defined by a radius that you can modify by its brush editor widget. This tutorial explains how to make brushed outlines that would improve sustantially your artwork.
What do I need to use brushes?
A brush image
Well, for the moment Synfig hasn't any brush image included so you'll need to do them by your self or grab from the free resources (insert link here to those resources).
Here are some examples of brushes:
These pictures are all licensed as public domain. Feel free to use them in your projects.
Brush images can just be any kind of image file that allows transparency (PNG, TIFF, GIF). The more resolution your image has, the bigger your brush size can be without pixelisation. Huge file sizes would take synfig more time to render,though. Find the balance between both options of quality and speed.
Anyway, you can use anything that is visible under synfig as a brush. See below.
A combinaison of feature
Brushes are not a primary feature of Synfig. They are obtained from the combination of the following features:
- Duplicate Layer
- Link to Spline (what uses the following convert types):
Strictly the Link to Spline feature is not needed but it would help on make several conversion types and linking.
The Idea
The idea of brushes is to use the Duplicate layer feature with the Link to Spline (automatic or manual) feature given by the conversion types.
When you link a vertex to a spline (or a tangent or a width) it converts your parameter to the following sub-parameters.
- spline "Spline"
- bool "Loop"
- real "Amount"
There are other particular parameters for tangent or width that will be revised in other section.
spline "Spline" is the spline where the parameter (vertex, tangent or width) is linked to. In the case of the vertex it means that the vertex lies on the spline given by its "Amount" parameter. When Amount is 0.0 the vertex position is the Spline begin. When Amount is 1.0 the vertex position is the Spline end. When Loop is "on" values outside the [0.0, 1.0] range are forced to be in that range by eliminating the integer part of the number. (It needs a better explanation)
On the other hand the Duplicate layer allows duplicate the render of everything that is below it as many times as the Index value node indicates. Also if you link any parameter to that Index one the parameter is modified according to the index before it is multiple rendered by the Duplicate layer. It allows apply some kind of transformation to the layers at the same time you duplicate them.
Combining those two features (Link to Spline and Duplicate) you can achieve the emulation of brushes in synfig.
The procedure
It is supposed you already have an outline where you would like to apply the brush. If not available create it now.
These are the steps you need to follow:
- If it's not already done, create an outline. That will be the outline followed by the brush.
- Caret Menu->File->Import. Select your image file for the brush.
You can also use an existing layer to do that, even a canvas with an animation inside. It doesn't matter what you use as brush, the procedure is always the same. - Create a Rotate Layer onto the brush layer.
- Create a Scale Layer onto the Rotate layer.
- Select Scale, Rotate and your brush layer and group them. It would produce a Group Layer (let's call it "Group A").
- Select Group A and also select your outline layer.
Click on the Group A Origin handle -the green dot- (beware that it can be below the Origin of the outline layer -both at (0,0) by default-) and right-click on the outline (avoid any handle). Select the "Link to Spline" option. - Repeat the above step but do it with the (blue) angle handle of the Rotate layer instead of the Origin of Group A. It doesn't matter if you make right click on the same place of the outline spline or not. Later it will be fixed.
- Repeat the same but with the Amount parameter of the Scale layer.
As the Amount parameter of the scale layer has not visual interface (hasn't any handle associated) you have to export this parameter (right click export) and then select it from the Library panel. Then you can make the right click and Link to Spline operations. - Add a Duplicate Layer over Group A. Group both, so the Duplicate layer affects only the Group A layer.
It would produce a Value Node at the Library panel (probably called "Index1" if that's your first Duplicate layer). Select that 'index' value node from the Library Panel. - Now go to the group layer ("Group A"). Search for the Origin parameter (that now is a converted type) and expand it. Look for the Amount parameter. This parameter should have a value between 0.0 and 1.0 depending on where did you made click to the outline. Make right click over it and select Convert->Scale. Expand it again and select the "Link" parameter (it should be a Real) and make right click and select "Connect". It would connect the Link parameter to the Index value node (already selected from the library panel). The default values for Index parameter is to duplicate from 1.0 to 3.0 so a this moment the duplicated brushes images are all placed at the end of the outline spline because all they have a value bigger or equal than 1.0.
- Repeat the same procedure for the Amount sub-parameter of the Angle parameter of the Rotate layer and the Amount sub-parameter of the Amount parameter of the Scale layer.
- It is the time of spread the position of the duplicated brushes along the spline. To do that you have to properly scale the Amount sub-parameter of each converted to Link to Spline parameter. Go to the Group Layer and expand the Origin parameter. Expand the Amount sub-parameter (already converted to a Scale) and look to the "Scale" parameter. This parameter has a default value of 1.0. Make right click over it and select Convert->Reciprocal. It would produce two sub-parameter more: Link, Epsilon and Infinite. Leave Epsilon and Infinite as they are and modify the Link one to be 3.0. Voila! the brush is spread along the Spline!
- Now export the Link sub-parameter (that you have just modified) by right click and "Export". Give a meaning name (for example "b-amount")
- Go to the library panel and select the just exported one.
- Without leaving the Origin parameter search for the following sub-parameter: Origin(Spline Origin)->Amount(Scale)->Link(Duplicate)->To. This parameter is the end of the loop of the Duplicate layer. Select it and make right click. As well as the exported b-amount is selected you can select Link from the context menu. It would make the Duplicate layer repeat it as many times says the b-amount value. By going to the Library Panel and changing the "b-amount" parameter to a high value (for example 100) make the brush to fill all the spline. Do you get the idea?
- Repeat the same procedure to the following parameters of the following layers (keep in mind that the "b-amount" value node from the library list panel still selected):
- Rotate Layer->Amount(Spline Angle)->Amount(Scale)->Link(Duplicate)->To. Select it and right click "Link".
- Scale Layer->Amount(Spline Width)->Amount(Scale)->Link(Duplicate)->To. Select it and right click "Link".
You can make the outline layer invisible (by un-checking the visibility check box) to only render the brushed one.
It only rest to make some modifications to the Outline width and the outline shape to modify the brushed one accordingly.
Also you would like to not link the rotation to the spline to achieve a constant angled pen. It is up to you to use one or other feature.
There is a problem with the Zoom option. The zoom is an exponential value and the width is a linear one. It means that Zoom = 0 is current size, negative values means zoom out and positive values means zoom in. To link properly the width to the zoom we need a logarithmic convert type that is not available at the moment. So to solve that you have to make the Zoom parameter of the group layer to be a negative value (between -3 and -5 are good values for normal brush sizes) and then let the Scale Layer do its work. There is not fixed rule for this interim solution.
Further steps
It is possible to make more fancy things with this procedure like make random angled brushes or random spread brushes stamps along the outline. But this is part of an Advanced uses of Brushes tutorial.
Examples
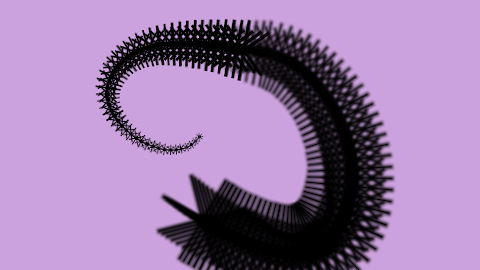
A Star layer. You can see that seems to be a bug there with the feather and zoom in and out combinations.
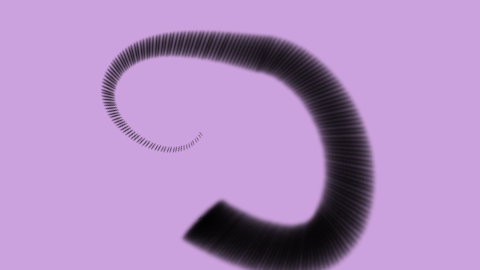
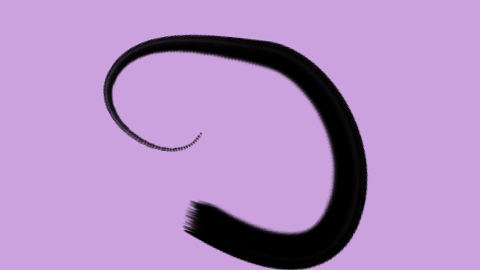
A simple stroke.
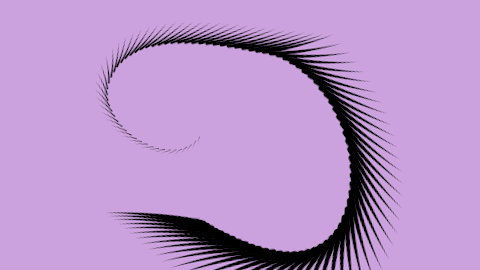
A angled pen. And this is the brush image:
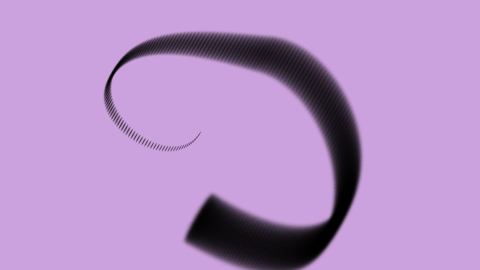
The same but not rotated.
Other brush example. And this is the brush image:
This is the sifz file used to render the examples:
You need to modify the zoom parameter in the group layer and the b-amount value node to modify the density of the brush to achieve same values than in the examples.


