Audio Synchronisation
This tutorial explains how to create a simple Synfig animation synchronised to an audio source. All source material is for download for education purposes.
Contents
Multiple approaches
Many approaches are possible. We herein propose a very fast way to design a new video for an existing audio track. The audio source is prepared and labeled in [1], a well-known opensource audio editor available for Windows, Mac and Linux.
A common alternative is to synchronise your audio and video in a third party video editing software (such as [2], [3], VSE or others). It is overall more flexible, but very accurate synchronisation is harder to reach.
The example
For this tutorial we'll be creating a bouncing ball animation based on portions of Ping Pong Ball sound.
Step 1: Prepare and label the audio track
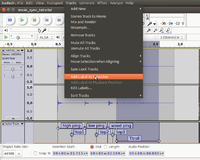
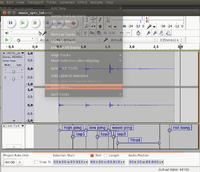
In [4], edit your audio to suit your needs (and storyboard), then select and label each section that seems relevant as an animation reference point (or keyframe in Synfig) in your audio track.Adding a label in Audacity is done via Tracks > Add Label at Selection (or (Ctrl+b)). See this tutorial for more details on labelling audio tracks in Audacity.
In our case, these significant moments would be the various impacts of the ball, and optionally the intermediate top of each bounce.
Once satisfied with your labels, use the Tracks > Edit Labels dialog to export the labels into a file named labels.txt in the same directory as your Synfig Project.
Step 2: Import keyframes in your Synfig project
| Language: |
English |

