Gradient Dialog
The Gradient Editor Dialog has two sections. The top part is for selecting the colors and alpha level and the lower part contains a preview of the gradient.
Just below the preview area there are two small triangles, called CPoints, that denote the initial and final colors of the gradient.
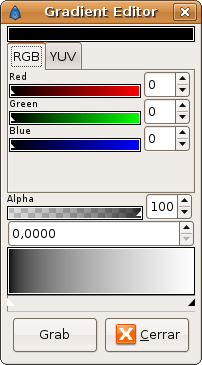
The currently selected CPoint is displayed as a white triangle. Its color is shown in the top part of the dialog for editing. You can select any of the other CPoints by clicking on their triangles to edit the other colors of the gradient.
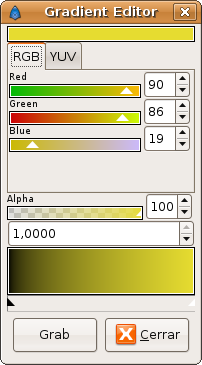
For example by modifying the red, green and blue channels of the CPoint on the right hand side you can change the final color of your gradient (preset to white) to a nice dark yellow like in the following example.
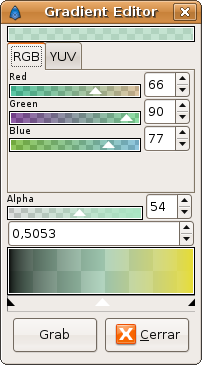
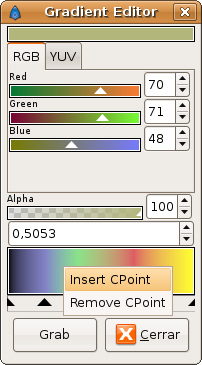
Gradients are not limited to two colors; you can have as many colors as you want in the gradient. To do that you just need to right click into the gradient preview and select "Insert CPoint". With this you'll insert a new triangle in the place where you made the right click. Then you can edit that color with the color and alpha sliders and create a tricolor gradient.
 |
|
Here I've created some sort of transparent light cyan for the central color.
Another cool feature is that you can slide the triangles just like you slide the color or alpha bars. With this you can compress the gradient to one or to other side or make its falling more quick or slow between colors. If you press SHIFT key meanwhile the CPoint is being dragged it doesn't pass the closest CPpoint it finds so it makes easier to stack CPoints one over other. CPoints can be moved more precisely by editing the numerical field just about the gradient's preview. This is a number between 0 (left edge) and 1 (right edge) specifying the selected CPoint's position.
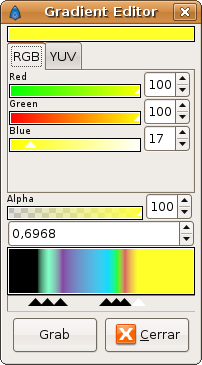
Finally the "Grab" button copies the edited gradient into the toolbox's default gradient.
Constraining a gradient:
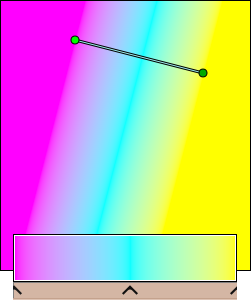
By default the gradient overwrites or floods its surroundings. The area before the beginning of the gradient and after the end of the gradient are flooded with the beginning and ending colors of the gradient. As can be seen in this image:
This is by design and adds the greatest flexibility to the gradient tools and layers. To achieve a gradient which is limited by its own geometry begin and end the gradient with transparency. Such as this:
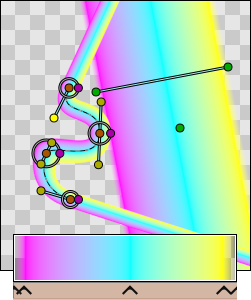
This still floods the surroundings, but with a transparent flood. To create a sharp edge to the gradient the beginning and ending colors can be dragged to the ends of the gradient editor gadget. The transparency doesn't have to have any width, it just has to be defined as the beginning and the end. Or just the beginning, or just the end, it's up to you, and your situation.