Walk Cycle
Somes of the screenshots needs to be updated with 0.64.0
The List File
One of the less obvious features of Synfig is buried in the Import Image layer. In addition to being able to import some basic still image file types, it will also accept a 'lst' file. This list file is simply a text file consisting of a framerate followed by a list of images to display. (If no framerate is supplied a default rate of 15 Frames per Second (FPS) is used.)
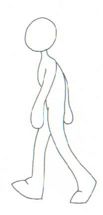
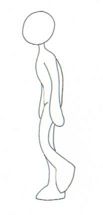
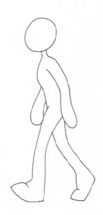
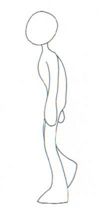
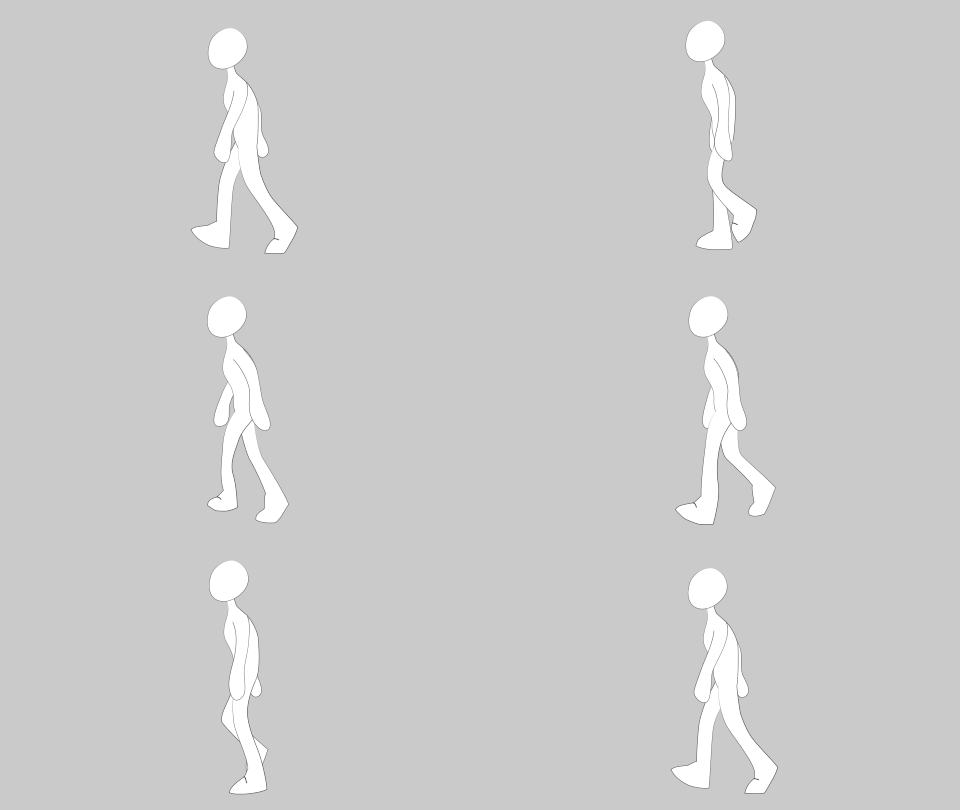
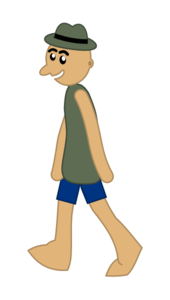
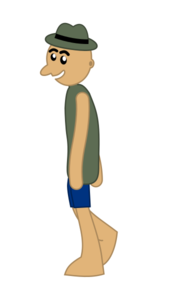
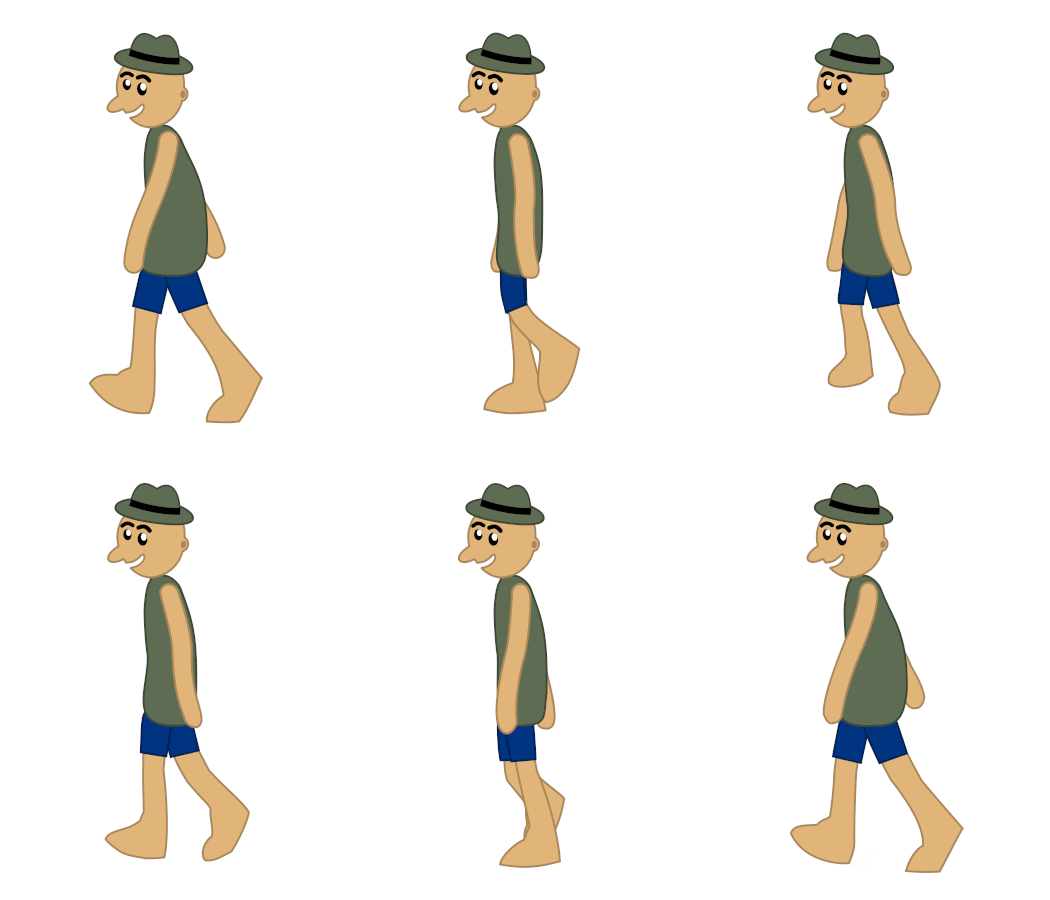
An example, provided by Voria Studios, takes 4 still images of a character in various stages of a walk cycle. These images are shown at 4 FPS to give a sequence that when repeated, show a man walking.
Here are the images
And here is the beginning of the 'lst' file.
FPS 4

frame_01.jpg

frame_02.jpg

frame_03.jpg

frame_04.jpg

frame_01.jpg

frame_02.jpg

frame_03.jpg

frame_04.jpg

frame_01.jpg

frame_02.jpg

frame_03.jpg

frame_04.jpg

...
Constructing a Walk cycle
Let's take a look at how we can use these images to create a complete walk cycle for a character in Synfig.
Start with a new canvas and add a timeline of several seconds with the default framerate of 24 FPS. On the canvas, select the Caret > Layer, New layer, Other, Import Image.
This creates a new Import Image layer, but nothing will show up until the filename is selected. Go to the Parameters Panel and scroll down to Filename. There you can navigate to the '.lst' file and select open. Now you should see the first image in the list. Moving forward along the timeline will show successive images from the list every 6 frames. You can preview or render these as is and get a low frame rate animation.
But the result doesn't look very smooth, and the images are not very flexible. (The images can be translated, rotated and stretched, but no elements within the images can be changed.) To make a fully editable character we need to trace over it with Synfig elements such as Splines.
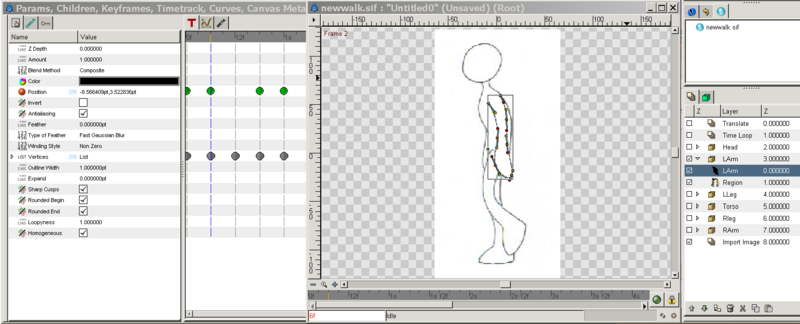
I work with a drawing tablet, so the easiest solution for me is to use the Draw Tool. Move back to frame 0, select the draw tool and trace over the character. I find it easiest to break the character down into several regions (Head, Left Arm, Right Arm, Torso, Left Leg, Right Leg). As a helpful tip, if the shape didn't come out quite right, go to the layer menu and uncheck the region checkbox - this will allow you to see the image below as you drag the handles around to correct your line.
Once you've finished Frame 0, move along the timeframe to Frame 6. Instead of tracing, this time we're going to take the existing elements and reposition them to match the image. Again, turning off the region layers will allow you to see the image below as you edit them. Use the rotate and translate tools to reposition the body parts, adjusting the line handles for fine tuning. [Don't forget to switch to "Animate Editing Mode" as explained in Animation Basics.]
Repeat for Frames 12 & 18, then you can turn off the Import Image layer (uncheck the checkbox in the layer menu). Now, even though we've only drawn 4 keyframes, by the power of Synfig, we can render a smooth 24 frames of man walking. Add a 1 second timeloop layer on top, and the man will pace on the spot for the length of your animation.
Adding Translation layer will enable your character to walk from one side of the canvas to the other (or moonwalk backwards if you're so inclined.)
Here is a zipfile with the list file, 4 still images, and the finished Synfig file. Unzip them in the same directory and open the newwalk.sif file with synfig.
Method 2
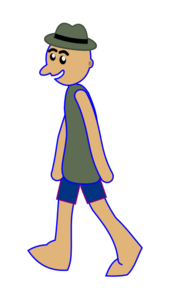
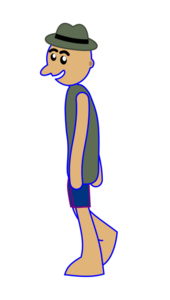
Let's start by drawing the pictures for our animation, here I did 4 poses, I have then extracted them in PNG that looks like:
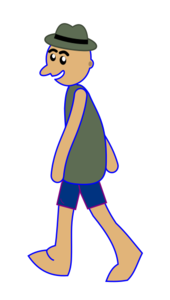
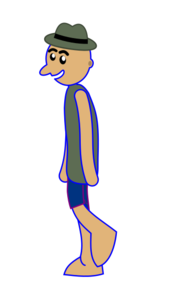
Then we add a color at the edges in order to trace our boy in Synfig, same thing I extracted them in PNG that looks like:
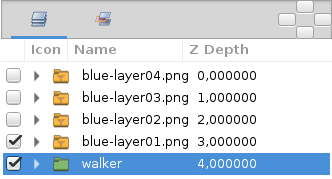
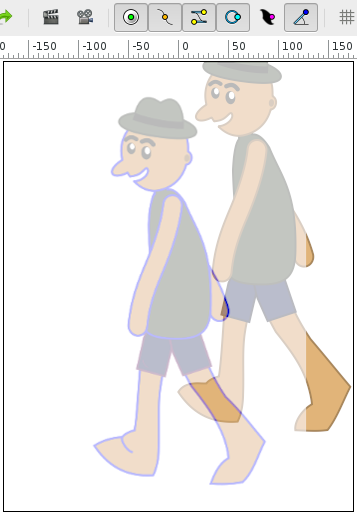
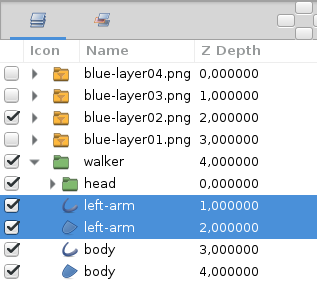
It remains more to import 4 designs with our "blue outline" in Synfig and choose the same size of "resizing" (settings > Transformations > scale) for each imported image, then we can add our boy file "walker.sif" to the animated. The boy layers must be laid on the image1 so resize and move until it is just. I put a (quantity) opacity of 0.5 on the image1 to see be sure of the result. I only check the image: blue-layer01.png and the group "walker".
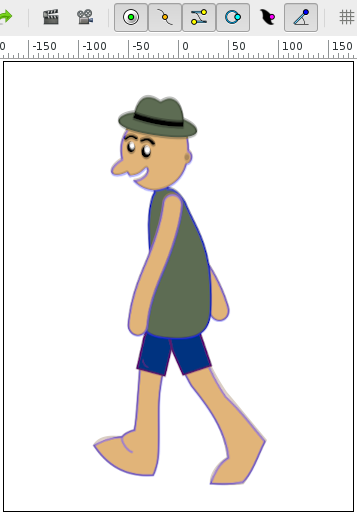
The 1st image we see drawing import with the blue outlines, the layers for animation are right.
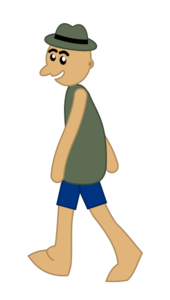
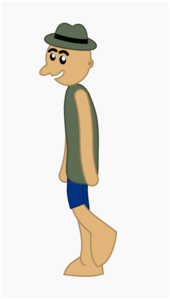
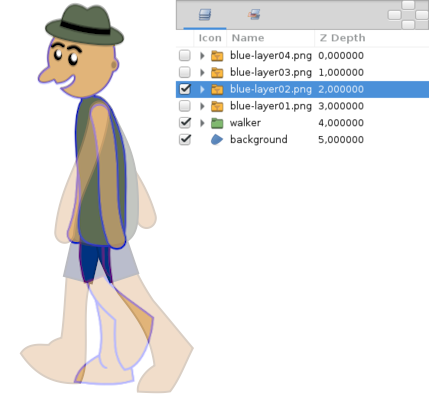
The 2nd image we see the boy put in the same location as the drawing.
We can animate our Walker, took me a total of 5 s for animation
uncheck "blue-layer01.png" and check "blue-layer02.png" and to see her add is a "quantity" of 0.5 (for opacity).
There is more to animate our boy, add a keyframe I put "24f" ,
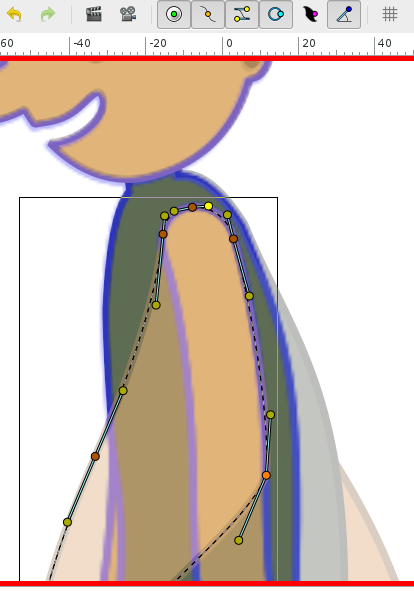
Move each "vertex" 1 by 1 as here.
Do the same for each vertex until finished and be identical to the image, then we can start the image3
check the image "blue-layer03.png" and uncheck the "blue-layer02.png" add a "keyframe" , make the same thing so it looks like our image.
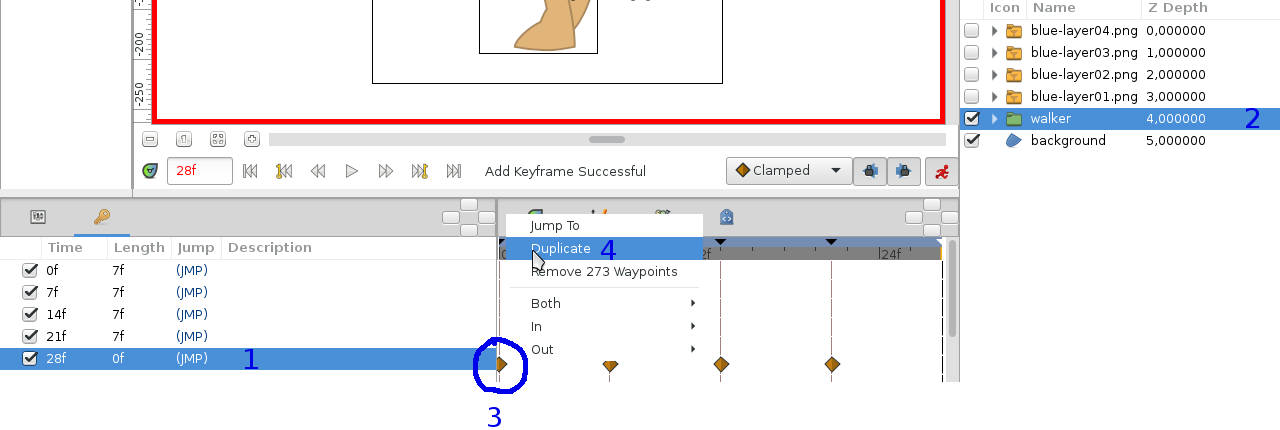
Do the same to the last image "blue-layer04.png", once the layers are identical to our image "blue-layer04.png" it remains more to duplicate the image key corresponding to "blue-layer01.png" see this tutorial [1]
or like this:
I now need to create a new keyframe which will exactly match the image "blue-layer01.png" What will a loop between blue-layer04 and blue-layer01 and to have our animation streaming.
- 1 I select the keyframe.
- 2 I select the layer you want to duplicate.
- 3 I click about to pass.
- 4 I duplicate.
Now the image will be virtually a clone of our reference blue-layer01, feel free to make a "jump" between the keyframe 1 and "the last keyframe" so that it is exactly the same, and that walking is fluid.
Once you have the same result it is to reduce the size of the "length" of the keyframes, and export the animation
I put "7f", which gives a quick walk.
Files tutorials
Files sif containing parts of this tutorial can be found here: Walker14.zip
