Text Tool
From Synfig Studio :: Documentation
Select the "Text Tool" icon from the Toolbox, then click in the canvas window where the Text Layer should be created.
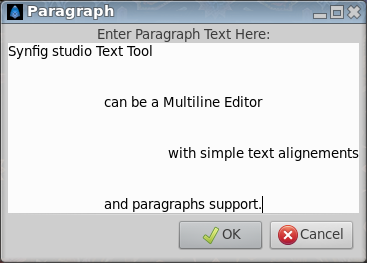
A dialog box will appear, allowing you to enter the text you want in the created layer. Enter the text, click "OK" button, and a new Text Layer will be created. In the dialog box, if "Multiline Editor" is checked, ↵ Enter will add a new line, you can hit Ctrl⇆ Tab to give focus to "OK" button to validate.
Options
The Tool Options Panel allows you to specify:
- the Name used for the new layer; any number in this field will automatically increment with each layer created
- "Multiline Editor" - whether to use a single or multi-line editor for entering the text. If a single line is used then the ↵ Enter key will submit the value. In the multi-line editor, you'll need to click the "OK" button with the mouse to confirm the text or hit Ctrl⇆ Tab to give focus to "OK" button.
- "Size" X Y - the horizontal and vertical size of the text
- "Orientation" X Y - the orientation of the text. The default (0.5, 0.5) means that the text will be centered around the point you clicked on. (0, 0) means that the top left corner of a box containing the text will be placed where you clicked. (1, 1) means that the bottom right corner of the text's bounding box will be placed where you clicked
- "Family" - the font family to be used
| Language: |
English |
