Doc:Brushes
Introduction
The Outlines that you can draw with Synfig are formed by a rounded brush. The brush is defined by a radius that you can modify by its brush editor widget. This tutorial explains how to make brushed outlines that would improve sustantially your artwork.
What do I need to use brushes?
A brush image
Well, for the moment Synfig hasn't any brush image included so you'll need to do them by your self or grab from the free resources (insert link here to those resources).
Here are some examples of brushes:
These pictures are all licensed as public domain. Feel free to use them in your projects.
Brush images can just be any kind of image file that allows transparency (PNG, TIFF, GIF). The more resolution your image has, the bigger your brush size can be without pixelisation. Huge file sizes would take synfig more time to render,though. Find the balance between both options of quality and speed.
Anyway, you can use anything that is visible under synfig as a brush. See below.
A combination of features
Brushes are not a primary feature of Synfig. They are obtained from the combination of the following features:
- Duplicate Layer
- Link to Spline (what uses the following convert types):
Strictly the Link to Spline feature is not needed but it would help on make several conversion types and linking.
The Idea
The idea of brushes is to use the Duplicate layer feature with the Link to Spline (automatic or manual) feature given by the conversion types.
When you link a vertex to a spline (or a tangent or a width) it converts your parameter to the following sub-parameters.
- spline "Spline"
- bool "Loop"
- real "Amount"
There are other particular parameters for tangent or width that will be revised in other section.
spline "Spline" is the spline where the parameter (vertex, tangent or width) is linked to. In the case of the vertex it means that the vertex lies on the spline given by its "Amount" parameter. When Amount is 0.0 the vertex position is the Spline begin. When Amount is 1.0 the vertex position is the Spline end. When Loop is "on" values outside the [0.0, 1.0] range are forced to be in that range by eliminating the integer part of the number. (It needs a better explanation)
On the other hand the Duplicate layer allows duplicate the render of everything that is below it as many times as the Index value node indicates. Also if you link any parameter to that Index one the parameter is modified according to the index before it is multiple rendered by the Duplicate layer. It allows apply some kind of transformation to the layers at the same time you duplicate them.
Combining those two features (Link to Spline and Duplicate) you can achieve the emulation of brushes in synfig.
The procedure
As of Synfig 1.0.2 (November 27, 2015), much of the process for creating a brushtroke effect has been simplified because scale and rotate functions have been integrated into group layers. The following steps will guide you through the process:
- If you have not already done so, create an outline (path) for the brush to follow.
- Click on the Spline Tool.
- Under the Tool Options Panel, select "Create Outline" if it is not already selected. You may wish to de-select all other "Layer Type" options as well.
- Lay as many or as few vertices as you wish.
- In the bottom-left corner of the Tool Options Panel, click "Make Spline" (gears icon).
- Edit the spline to your content by adding or removing vertices and moving tangent handles.
- Import the "brush" you would like to copy by clicking File->Import..., then selecting the corresponding image file.
- Alternatively, you may use an existing shape within your project, although this may require an additional step. Place the object(s) to be used as a brush in a Group Layer or Switch Group Layer. If you want your brush to rotate to follow the contour of the path, it is necessary that the objects be in a group layer or switch group layer because most objects do not have a rotation (Angle) parameter but groups do. (Some objects also lack an origin parameter.) After creating the group layer, move the origin handle to the object's center (ctrl-click and drag the origin handle) so that they both move together. These steps are not necessary if you import an image because imported images are created within a switch group layer.
- Select both the group layer containing your brush and the spline layer. Click the group's origin handle (green circle), then right-click on the spline (not on a handle) and select Link to Spline. To test that you have done this correctly, move the group's origin handle and it should be confined to the spline and rotate so that it is always tangent to it. You are still free to rotate the group layer and it will continue to correspondingly rotate as you move the origin along the spline's path.
- Put the group layer with your brush inside another group layer. Call this new group layer "Clones" or something similar for easy reference.
- With the group layer ("Clones") selected, adjust the scale handle (orange circle in the Group Transformation Widget) so that the brush is as large or as small as you desire. You can also return to this step later.
- Click the group layer containing your brush (not the "Clones" layer). Right-click it and select New Layer->Other->Duplicate. (Alternatively, click in the menu bar Layer->New Layer->Other->Duplicate.) This creates a Duplicate Layer, which is not the same as duplicating the layer. Do not simply click "Duplicate Layer" below the Layers Panel.
- Click the Duplicate Layer you just created. Under the parameters, expand "Index (Index 1)" and edit the values "From", "To", and "Step". These correspond to the portion of the spline to be traversed as well as the density of the brushstroke. For the "From" and "To" parameters, 0 corresponds to the start of the spline and 1 corresponds to its end. The number of duplicates to be made is equal to floor((To-From)/Step). A smaller "Step" parameter corresponds to a denser brushstroke while a larger one makes it more sparse (and possibly easier to render). For this tutorial, it is suggested you use From=0, To=1, and Step=0.02, which will create 50 copies along the entire length of the spline, although you are encouraged to modify these values to see their effects.
- Open the Library Panel. Expand "ValueBase Nodes" and select "Index 1", which should correspond to the value node you just edited in the Duplicate Layer. Make sure "Index 1" remains selected throughout the following step.
- Click the group layer containing your brush (not "Clones"). Within the Parameters Panel, expand Transformation->Offset. Right-click "Amount" and select "Connect". (Note that the Transformation and Offset parameters must be expanded. The Amount parameter there is not the same as the top-level Amount parameter, which is equivalent to the layer's alpha channel.) This connects the "Amount" parameter (the position along the spline) with the value node associated with the Duplicate Layer. This should create many copies of the brush along the length of the spline. You will notice that these copies are not rotated, which will be accomplished in the next and final step. If you do not wish for the brush to rotate as it traverses the path, you are done.
- Still within the group layer's Parameters Panel, expand Transformation->Angle. Right-click "Amount" and select "Connect" (make sure "Index 1" is still selected in the Library Panel). (Note that the Transformation and Angle parameters must be expanded. The Amount parameter there is not the same as the top-level Amount parameter, which is equivalent to the layer's alpha channel.) This automatically associates the duplicates' angle with the tangent to the spline. If you have done all of the above steps correctly, your brush will follow the spline and its angle will change with it.
At this point, you can modify any parameters and the brushstroke will update dynamically. You can turn off the Spline Layer to hide it, add vertices, modify tangent handles, and change the "From", "To", and "Step" parameters.
Further steps
It is possible to make more fancy things with this procedure like make random angled brushes or random spread brushes stamps along the outline. But this is part of an Advanced uses of Brushes tutorial.
Examples
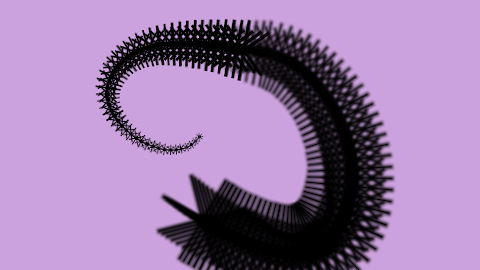
A Star layer. You can see that seems to be a bug there with the feather and zoom in and out combinations.
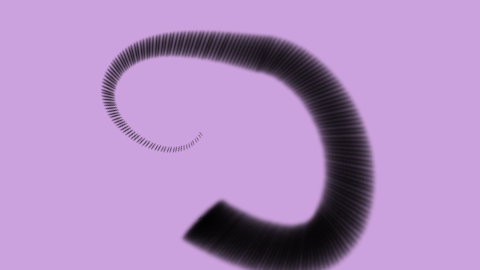
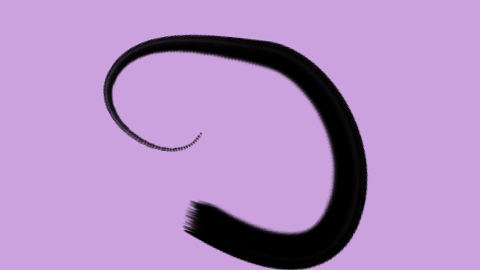
A simple stroke.
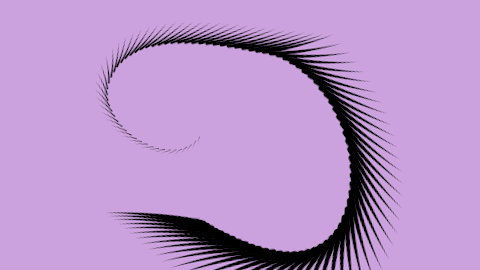
A angled pen. And this is the brush image:
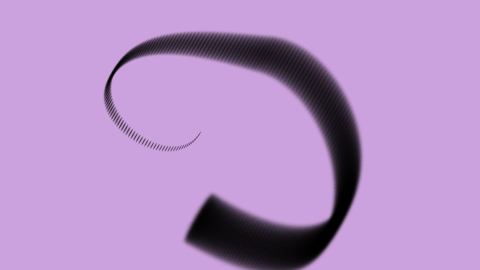
The same but not rotated.
Other brush example. And this is the brush image:
This is the sifz file used to render the examples:
You need to modify the zoom parameter in the group layer and the b-amount value node to modify the density of the brush to achieve same values than in the examples.


