Анимация "Шагающего человечка"
(Created page with "<!-- Page info --> {{Title|Анимация "Шагающего человечка"}} {{Category|Tutorials}} {{Category|Tutorials Advanced}} <!-- Page info end --> == Файл "...") |
(→Constructing a Walk cycle) |
||
| Line 36: | Line 36: | ||
...</code><br> | ...</code><br> | ||
| − | == | + | == Создание цикла ходьбы == |
| − | + | ||
| − | + | Давайте теперь разберёмся как использовать эти изображения для того чтобы создать законченный цикл ходьбы персонажа в Synfig. | |
| − | + | Начните с создания нового холста, добавьте линию времени длинной в несколько секунд со стандартной частотой кадров в 24 FPS. В меню холста выберите Слой > Создать слой > Прочие > Импорт изображения (Caret > Layer, New layer, Other, Import Image). | |
| − | + | ||
| + | Теперь у нас есть новый Слой "Импорт изображения", но он остаётся пустым до тех пор не указан путь к файлу для импорта. Найдите строку "Имя Файла" (Filename) на панели параметров и укажите в ней путь к файлу ".lst". | ||
| + | Теперь вы должны видеть первое изображение из списка. Продвигаясь вперёд по шкале кадров вы увидите расположенные последовательно изображения из списка на каждом 6 кадре. Вы можете сделать предпросмотр или визуализировать (отрендерить) эту последовательность в нынешнем виде и получите анимацию с низкой кадровой частотой. | ||
| + | |||
| + | Но результат не будет достаточно плавным, а изображения не изменяемы (их можно переместить, вращать и растягивать но детали самого изображения не могут быть изменены). Для создания полностью редактируемого персонажа мы должны его трассировать, то есть продублировать его форму векторными элементами Synfig такими как Blines (Кривые) или Векторный карандаш. | ||
| − | |||
I work with a drawing tablet, so the easiest solution for me is to use the {{l|Draw Tool}}. Move back to frame 0, select the draw tool and trace over the character. I find it easiest to break the character down into several regions (Head, Left Arm, Right Arm, Torso, Left Leg, Right Leg). As a helpful tip, if the shape didn't come out quite right, go to the layer menu and uncheck the region checkbox - this will allow you to see the image below as you drag the ducks around to correct your line. | I work with a drawing tablet, so the easiest solution for me is to use the {{l|Draw Tool}}. Move back to frame 0, select the draw tool and trace over the character. I find it easiest to break the character down into several regions (Head, Left Arm, Right Arm, Torso, Left Leg, Right Leg). As a helpful tip, if the shape didn't come out quite right, go to the layer menu and uncheck the region checkbox - this will allow you to see the image below as you drag the ducks around to correct your line. | ||
Revision as of 18:04, 8 February 2012
|
Warning! This page contains outdated information. The release of Synfig Studio 0.64.0 introduced new terminology and this translated page needs to be updated according to original English text. You can help updating this page - see instructions here. Thank you! |
Файл "Список" (List)
Одна из самых не очевидных возможностей Synfig кроется в использовании слоя "Импорт изображения" (Import Image layer). Помимо того что он позволяет просто импортировать основные графические форматы хранения изображений он также может работать с файлом ".lst". Этот файл "Список" простой текстовый файл хранящий информацию о "Частоте кадров" (framerate) и список файлов с изображениями которые будут использоваться (если частота кадров не будет указана то используется её значение равное 15 FPS (кадров в секунду)).
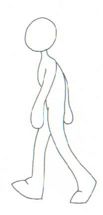
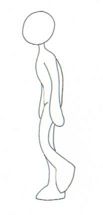
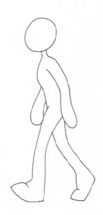
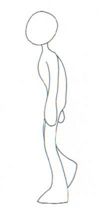
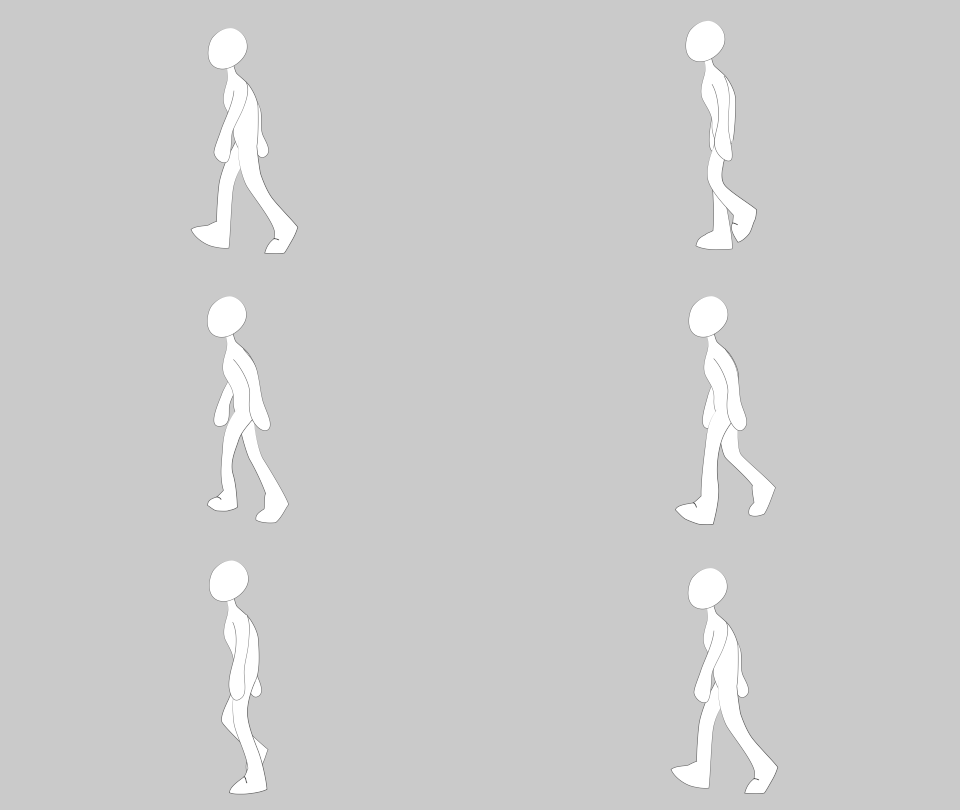
Вот пример от "Voria Studios", он содержит 4 неподвижных изображения персонажа в разных стадиях цикла ходьбы. Эта последовательность изображений по сути 4 кадра которые повторяясь создадут идущего персонажа.
Вот эти изображения
А вот начало файла "lst".
FPS 4

frame_01.jpg

frame_02.jpg

frame_03.jpg

frame_04.jpg

frame_01.jpg

frame_02.jpg

frame_03.jpg

frame_04.jpg

frame_01.jpg

frame_02.jpg

frame_03.jpg

frame_04.jpg

...
Создание цикла ходьбы
Давайте теперь разберёмся как использовать эти изображения для того чтобы создать законченный цикл ходьбы персонажа в Synfig.
Начните с создания нового холста, добавьте линию времени длинной в несколько секунд со стандартной частотой кадров в 24 FPS. В меню холста выберите Слой > Создать слой > Прочие > Импорт изображения (Caret > Layer, New layer, Other, Import Image).
Теперь у нас есть новый Слой "Импорт изображения", но он остаётся пустым до тех пор не указан путь к файлу для импорта. Найдите строку "Имя Файла" (Filename) на панели параметров и укажите в ней путь к файлу ".lst". Теперь вы должны видеть первое изображение из списка. Продвигаясь вперёд по шкале кадров вы увидите расположенные последовательно изображения из списка на каждом 6 кадре. Вы можете сделать предпросмотр или визуализировать (отрендерить) эту последовательность в нынешнем виде и получите анимацию с низкой кадровой частотой.
Но результат не будет достаточно плавным, а изображения не изменяемы (их можно переместить, вращать и растягивать но детали самого изображения не могут быть изменены). Для создания полностью редактируемого персонажа мы должны его трассировать, то есть продублировать его форму векторными элементами Synfig такими как Blines (Кривые) или Векторный карандаш.
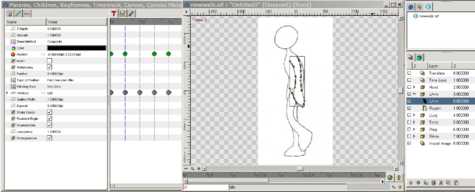
I work with a drawing tablet, so the easiest solution for me is to use the Векторный карандаш (Draw Tool). Move back to frame 0, select the draw tool and trace over the character. I find it easiest to break the character down into several regions (Head, Left Arm, Right Arm, Torso, Left Leg, Right Leg). As a helpful tip, if the shape didn't come out quite right, go to the layer menu and uncheck the region checkbox - this will allow you to see the image below as you drag the ducks around to correct your line.
Once you've finished Frame 0, move along the timeframe to Frame 6. Instead of tracing, this time we're going to take the existing elements and reposition them to match the image. Again, turning off the region layers will allow you to see the image below as you edit them. Use the rotate and translate tools to reposition the body parts, adjusting the line ducks for fine tuning. [Don't forget to switch to "Animate Editing Mode" as explained in Основы анимации.]
Repeat for Frames 12 & 18, then you can turn off the Import Image layer (uncheck the checkbox in the layer menu). Now, even though we've only drawn 4 keyframes, by the power of Synfig, we can render a smooth 24 frames of man walking. Add a 1 second timeloop layer on top, and the man will pace on the spot for the length of your animation.
Adding Translation layer will enable your character to walk from one side of the canvas to the other (or moonwalk backwards if you're so inclined.)
Here is a zipfile with the list file, 4 still images, and the finished Synfig file. Unzip them in the same directory and open the newwalk.sif file with synfig.

