Difference between revisions of "Doc:Building a magnifying glass"
m (fix sample file address) |
m |
||
| Line 1: | Line 1: | ||
| + | <!--Categories--> | ||
| + | [[Category:Tutorials]] | ||
| + | |||
Create a new document. | Create a new document. | ||
Revision as of 20:24, 30 March 2008
Create a new document.
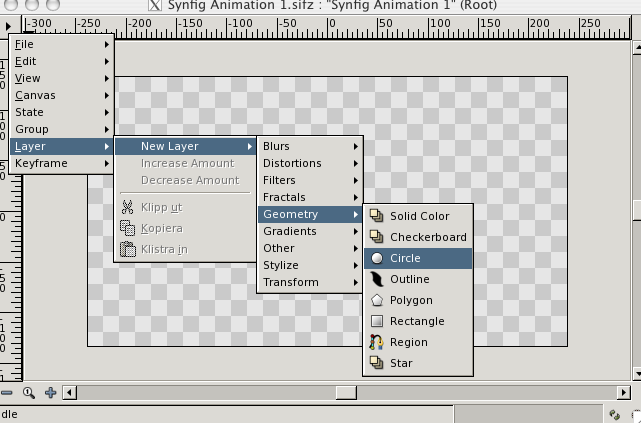
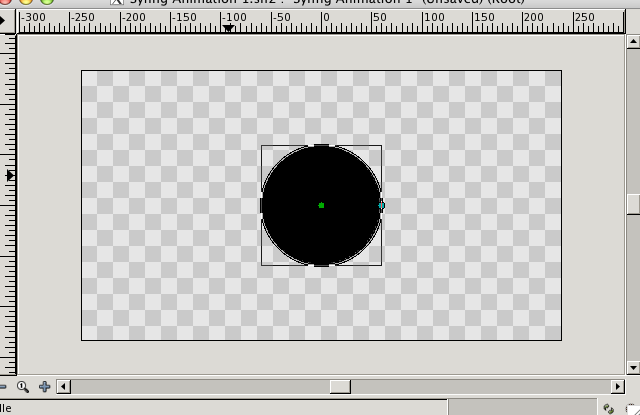
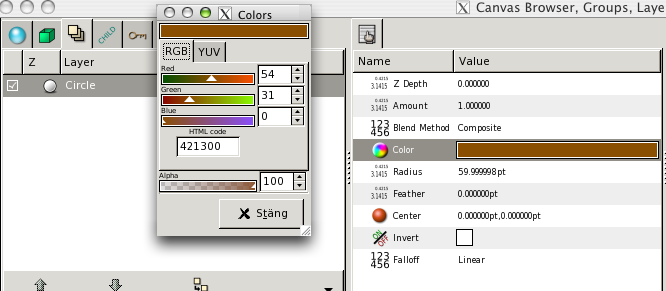
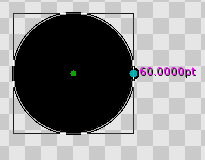
Insert a circle layer, this will be the outline of the magnifying glass, so I want another color,
I chose brown
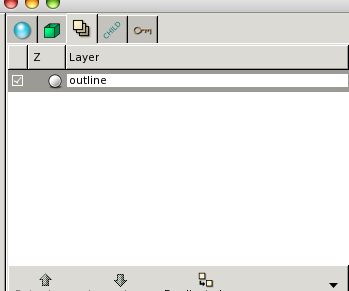
and name it "outline".
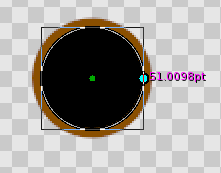
Make another circle layer, right-click choose copy and then paste,
click on the light blue spot and make the radius a bit smaller
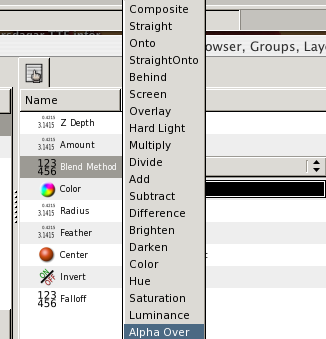
Choose "alpha over" as blend method in layer parameters
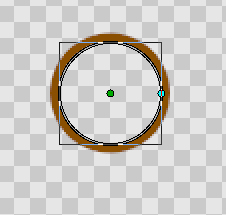
and you'll end up with a hole.
I name this layer "hole"
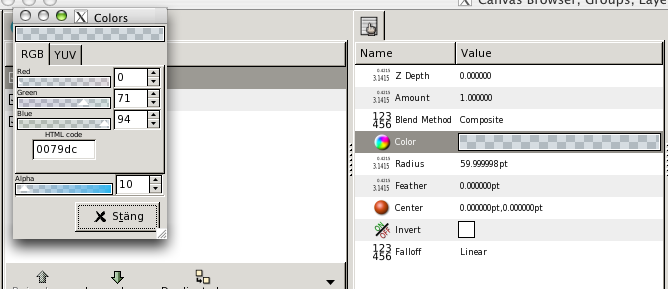
Make a third "circle layer"and set a new color with transparency. This layer will be the glass.
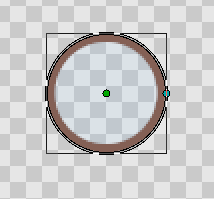
Now it looks like this.
Then I chose the bline tool to make the handle.
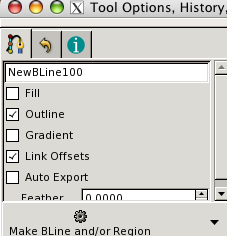
In tool options I'll see to that I only have "Outline" checked, I don't want to have it filled.
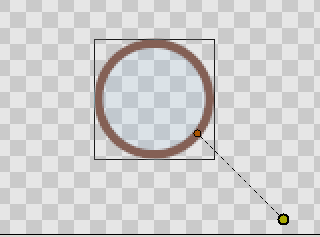
Click on the glass outline with the bline tool and make your handle,
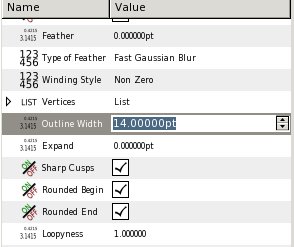
choose the outline width in layer parameter and increase to 14pt.
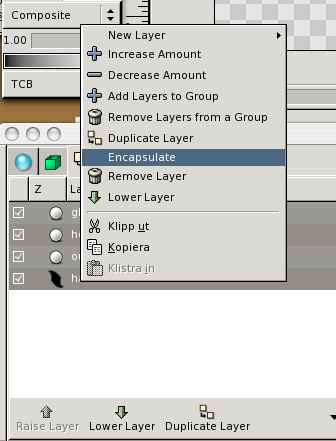
Choose all your layers, 3 circle layers and 1 bline layer and encapsulate them by right-clicking.
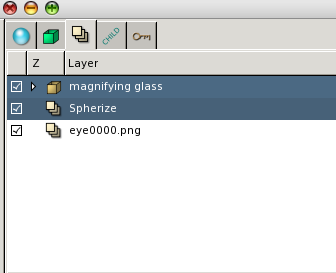
I name the encapsulate layer "magnifying glass"
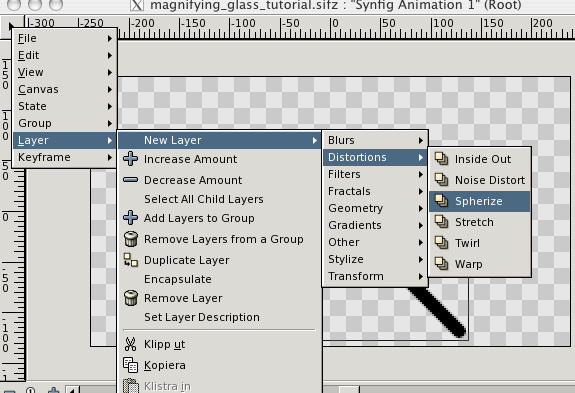
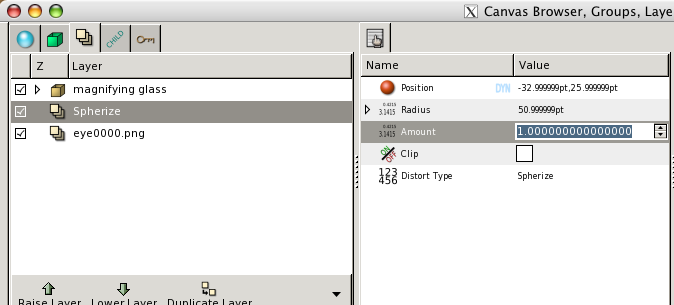
Make a new layer, choose "Spherize". Lower this layer to the bottom (this is the magnifying effect and all that is under this layer will be magnified)
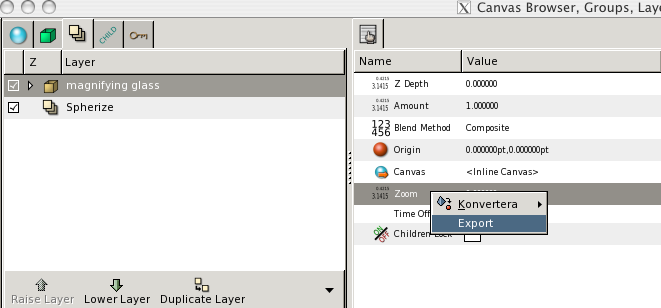
Then chose the encapsulated "magnifying glass" layer, go to layer parameters and right-click on "Zoom" parameter, chose "Export".
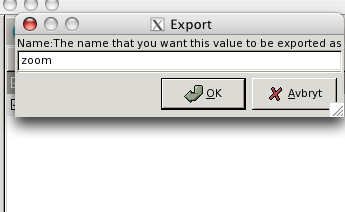
a window appears and ask you for a name for this exported value, I name it "zoom".
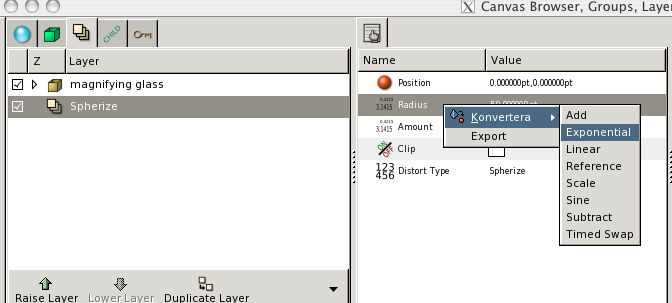
Click on "Spherize" layer, go to layer parameters and right-click on "Radius", chose "Convert/Exponential".
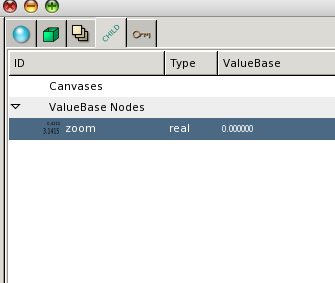
Click on "Child" tab and find the exported "zoom" value, click on that, go back to "layers" tab and click on Spherize layer if it's not already chosen.
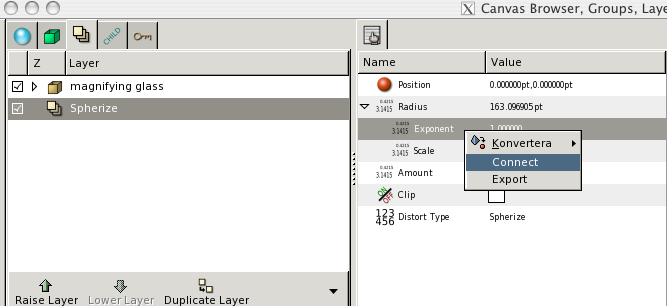
In parameters the "Radius" has a small triangle, click on it to open up it's sub parameters, right-click on "Exponent" and chose "Connect".
Now the radius of the Spherize layer will be connected to the zoom of the encapsuled layer called "magnifying glass", so if you zoom in/out on with it, the spherize layer will follow.
I will also need to connect the origin in the Spherize layer to the origin in the encapsulated layer.
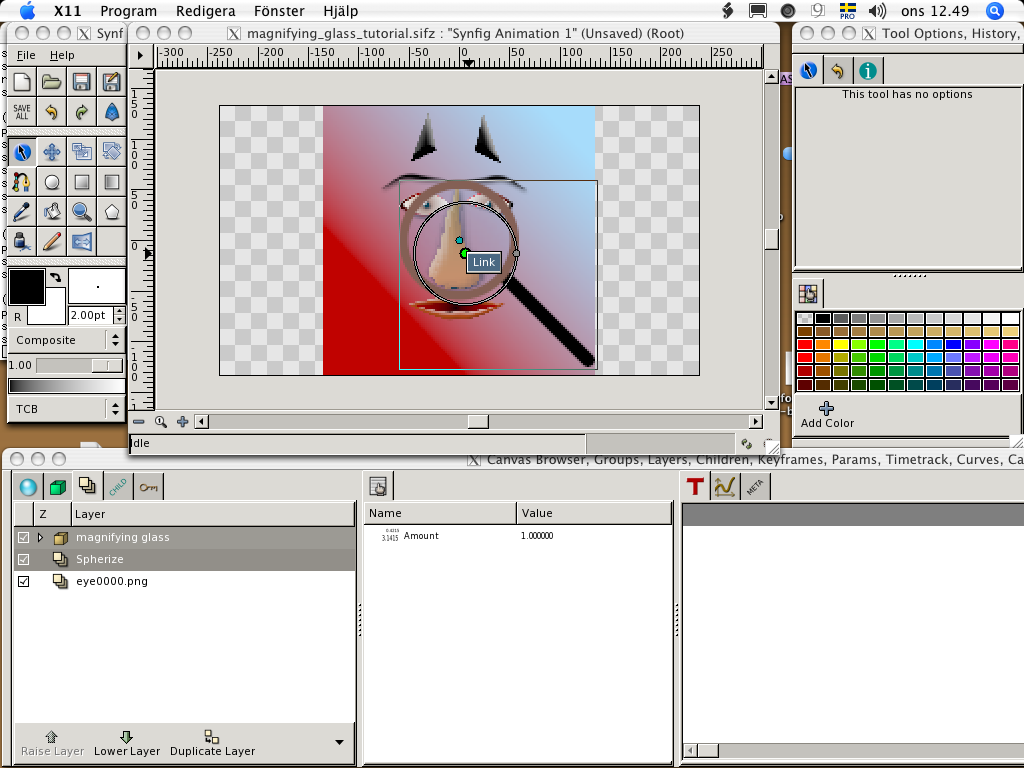
I click on the Spherize layer and the green little spot will be visible, that's the origin, click on it and drag it a little bit aside (that is because it covers the encapsuled layer's origin, I want to choose them both and link them together.
Control-click on the magnifying glass layer so you'll get both layers activated,
then you'll also see that layers origin, control-click on both origins so they will be highlighted then right-click and choose "link" from the pop-up menu.
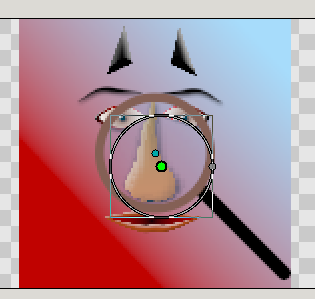
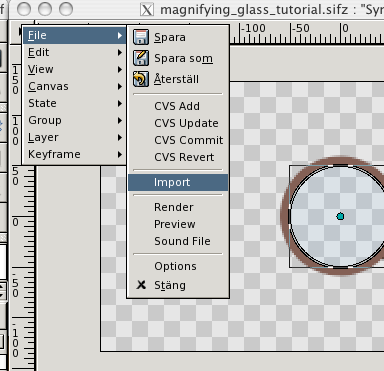
Now when you move the magnifying glass layer, the spherize layer will follow. I will need something to zoom in on, so I import an image file that I put "under" the Spherize layer.
The "amount" in the spherize parameters decide how much magnifying effect it will have, try it out, you can also use negative values.
I want to be able to rotate my magnifying glass so I make a new "rotate" layer inside the magnifying glass layer, I put it on top of all other layers inside, the rotate layer only affect the lower layers.
I also made a "bevel" layer inside magnifier glass layer to make it look less flat. You can study the settings for those extra layers if you download the Synfig file (the image used is also in this archive).
This tutorial is also available in PDF format, and the rendered movie is on YouTube.
