Difference between revisions of "Doc:Object gradients"
m (screenshots) |
m (Text replace - "{{Category|NewTerminology}}" to "{{NewTerminology}}") |
||
| Line 3: | Line 3: | ||
{{Category|Tutorials}} | {{Category|Tutorials}} | ||
{{Category|Tips_and_Tricks}} | {{Category|Tips_and_Tricks}} | ||
| − | {{ | + | {{NewTerminology}} |
<!-- Page info end --> | <!-- Page info end --> | ||
Latest revision as of 11:12, 20 May 2013
By default a Gradient Layer cover the whole Canvas. This short tutorial shows you how to cover an object with the gradient.
1. Create the Region you want to fill with a gradient.
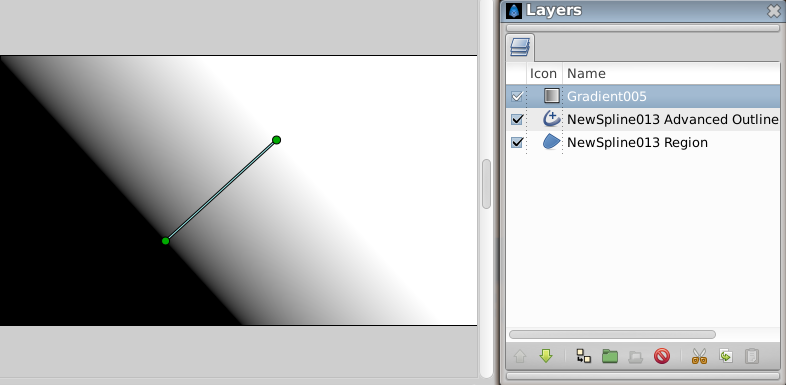
2. Create the Gradient Layer. As you can see it fills the Canvas completely.
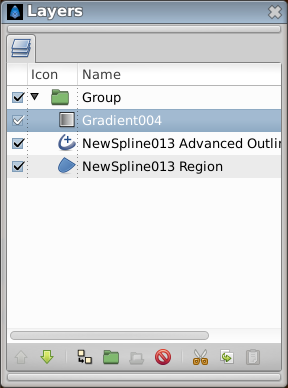
3. Select all layers, right click, and select Group. Make sure the gradient is above the shapes it should fill.
4. Expand the new Group Layer if it's not already, and select your Gradient Layer.
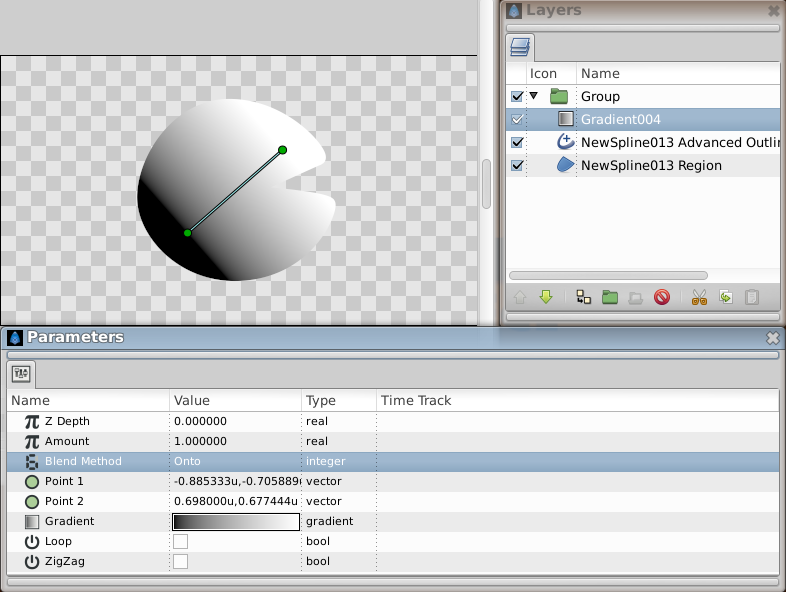
5. In the Parameters Panel select the Blend Method parameter, and choose Onto from the drop-down menu.
The gradient will clip to the visible area of the region below it inside the Group Layer. (and any other layers in that section).
You can download the File:Doc Object Gradiants.sifz used in this example.
| Language: |
English |


