Gradient Editor Dialog
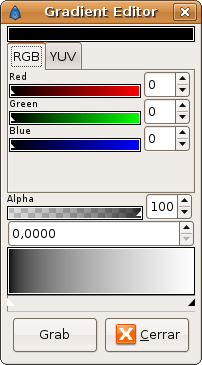
The Gradient Editor Dialog have two sections. One is the common one for selecting the colors and alpha level and other is the preview of the gradient. In the gradient area there are two small triangles that denotes the initial and final colors of the gradient.

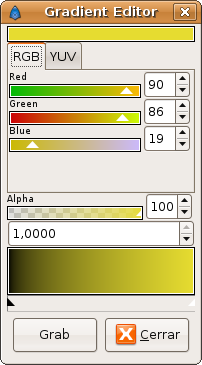
The current color that is being edited and show in the color area, is the one that belongs to the white triangle (selected one). You can select the other triangle to edit the other color of the gradient. For example modifying the red, green and blue channels you can modify the final color of your gradient (preset to white) to a nice dark yellow like in the example.

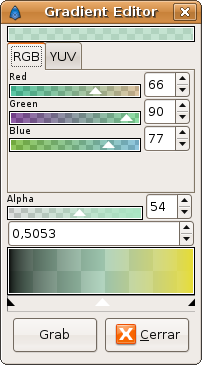
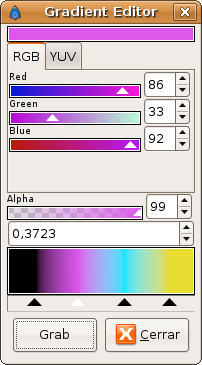
Gradients are not limited to two colors, you can have as many colors (I guess) you want in the gradient. To do that you just need to right click into the gradient preview and select "Insert CPoint". With this you 'll insert a new triangle in the place where you made the right click. Then you can edit that color with the color and alpha sliders and create a tricolor gradient.

Here I've created some sort of transparent light cyan for the central color. Another cool feature is that you can slide the triangles just like you slide the color or alpha bars. With this you can compress the gradient to one or to other side or make its falling more quick or slow between colors.

Finally the "Grab" button allow to grab the edited gradient into the current edited gradient although it update the modifications automatically to the current gradient layer.