Feu animé réaliste
|
Warning! This page contains outdated information. The release of Synfig Studio 0.64.0 introduced new terminology and this translated page needs to be updated according to original English text. You can help updating this page - see instructions here. Thank you! |
Ce tutoriel est en cours de traduction, veuillez revenir plus tard.
Contents
Introduction
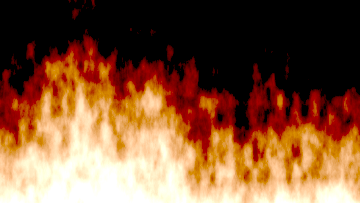
Ce tutoriel vous guidera dans la réalisation d'un feu animé réaliste avec Synfig.Inspirez-vous de l'animation finale, et visitez la galerie ci-dessous pour trouver d'autres vidéos qui exploitent cette technique!
Ce tutoriel n'est pas "avancé" comme dans "difficile", mais il requiert que vous soyez familier avec l'interface de Synfig et ses principaux outils, dans la mesure où ils ne seront pas abordés ici. Commencez par les tutoriels débutants et gardez le manuel à portée de main si vous n'êtes pas familier avec des termes tels "Paramètres du Mode de Fusion" ou "Encapsulate". La longueur de ce tutoriel est estimée entre 30 et 50 minutes pour un utilisateur moyen de Synfig.
Pour des dispositions ou réglages alternatifs, variantes et autres, n'hésitez pas à participer à la page de discussion.
L'idée principale au coeur de ce tutoriel est inspirée d'un guide pour Photoshop intitulé "Fire in Photoshop", par Eros:
- un fond rempli de nuages noir & blanc (i.e: bruit) se déplace verticalement. Ses zones claires deviendront une flamme claire et jaune, alors que les zones plus sombres deviendront un flamme rougeâtre.
- un masque fixe fonce le haut du feu, pour diminuer progressivement l'intensité du feu (i.e: un dégradé vertical blanc & noir)
- une couche de couleur orange met le feu à la composition
Vous pouvez si vous le souhaitez télécharger le File:Realistic fire tutorial.sifz, disponible sous licence Creative Commons (by nc sa).
étape 1: un feu statique
Ouvrez un nouveau fichier Synfig, sa taille n'a pas d'importance. Pour donner un bel effet "écran large" ce tutoriel utilise 360x203.
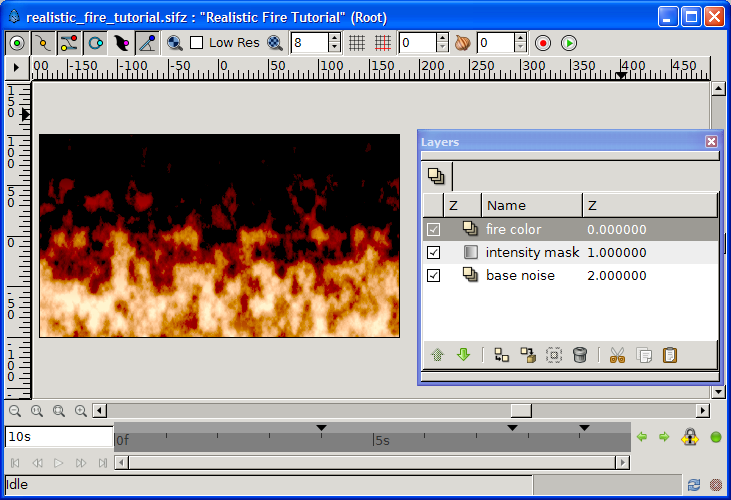
- Ajoutez un nouveau calque Noise Gradient Layer noir & blanc, renommez le base noise (bruit de fond) et changez sa size (taille) pour 20x35pt... puisque les flammes sont allongées verticalement.
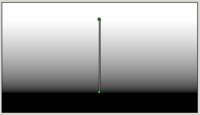
- Au dessu de base noise (bruit de fond), ajoutez un calque Linear Gradient Layer, renommez-le intensity mask (masque d'intensité), et déplacez les poignées du dégradé point 1 & point 2 de manière à laisser un espace blanc au sommet du canevas, et noir à son pied, comme illustré dans l'image. Changez son blend mode (mode de fusion) pour subtract (soustraction).
- Au dessu de intensity mask (masque d'intensité), ajoutez un calque Solid Color Layer, renommez-le fire color (couleur du feu). Changez sa color (couleur) pour un orange chaud, nous avons utilisé #ff6700, et son mode de fusion pour color (couleur).
- Changez la amount (quantité) de fire color (couleur du feu)et intensity mask (masque d'intensité) pour obtenir l'effet que vous appréciez. Nous avons utilisé des quantités de 0.7 pour la couleur et 1.4 pour le masque pour obtenir le résultat illustré dans l'image à la fin de cette première étape.
étape 2: lui donner vie!
Bringing this fire to life is about moving the base noise upwards. Therefore we
- Encapsulate base noise and rename the new group into moving base. Make it move upward by converting its origin to Linear and setting the origin slope to 0x200pt.
At this point you can Preview a few frames, to appreciate the effect of moving flames... and quickly notice how dull and boring it looks: the flames fade away when rising but lack of movement and surprise. Let's add some!
The idea of the technique used in this tutorial is to brighten zones that will become hot, yellow flames, and darken zones that will be dark, red flames. As moving base does just that being a black and white cloud, we'll apply the same steps again to add some irregularities:
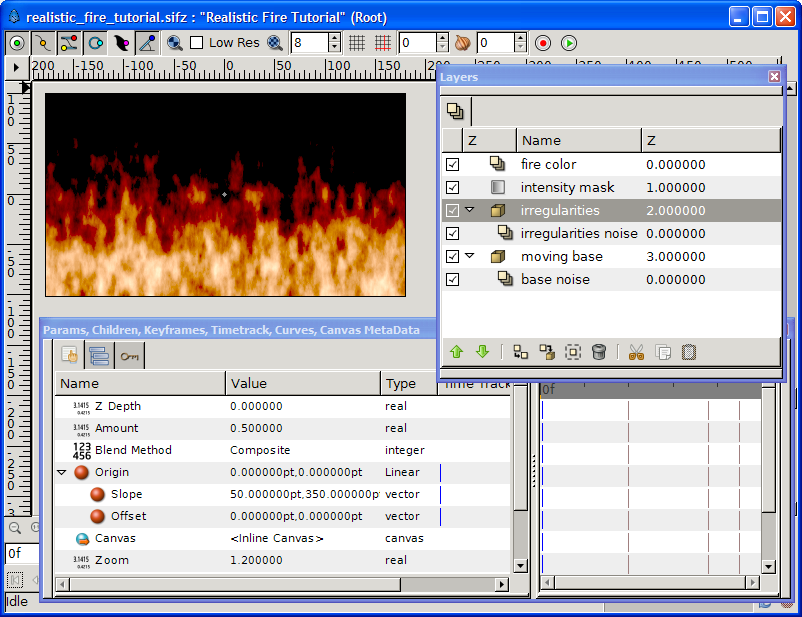
- Duplicate the moving base layer, rename the new group into irregularities, its contained noise to irregularities noise and raise it above moving base. Change all the settings we adapted before:
- Change irregularities noise RandomNoiseSeed to anything else (eg. drop the last figure) and size to 5x15pt
- Change irregularities origin slope to 50x350pt, amount to 0.5 and zoom to 1.2
A snapshot of these last settings is given in the picture at the end of step 2.
étape 3: quelques points chauds
To complete this tutorial, we will add some hot spots at the base (figuring the source of the flames) and left of the fire, to make it less rectilinear. This is done by slightly brightening some areas underneath the fire color layer.
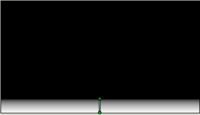
- Add, above irregularities group, a new Linear Gradient Layer. Rename it flame source and move its gradient point 1 & point 2 to leave no white space at the bottom of the frame, and huge black area on top, as illustrated in the "flame source layer" picture. Change its amount to 0.6 and blend mode to Add.
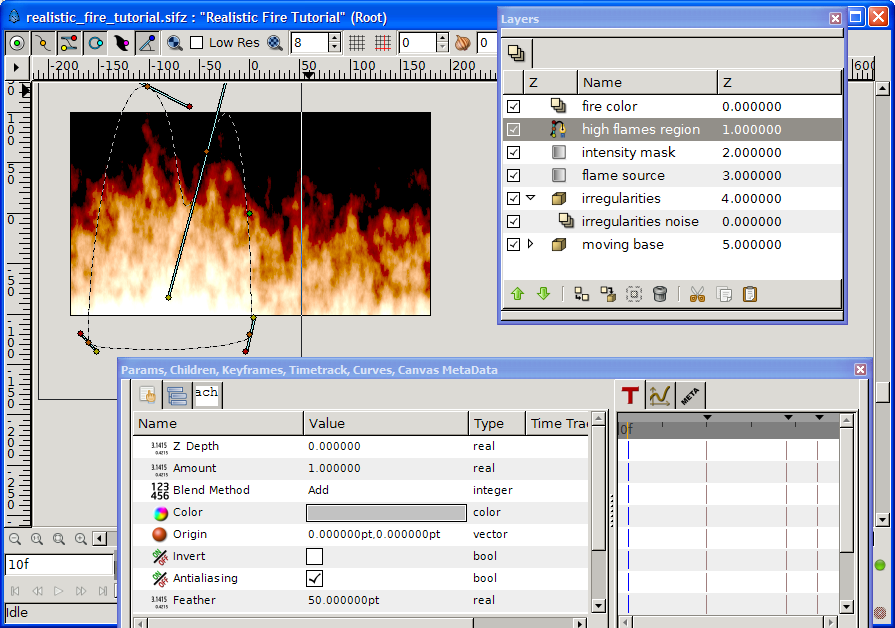
- Below layer fire color create a new BLine Region (no need for an outline) of a shape where you want brighter flames (have a look at the picture at the end of this step for an example) and rename it high flames region. Changes its Feather Parameter to 50pt, its blend mode to Add, and its color to some light gray (eg #8c8c8c).
Congratulations. You're (already) done! Render and enjoy.
You can optionally download the result File:Realistic fire tutorial.sifz, available under Creative Commons (by nc sa)... but you just made your own so there's no need!
Réglages précis & essais divers
Various settings allow you to achieve very different fire types and effects. Contribute to this section or discuss them in the talk page!
Some "easy" tailoring include:
- play with the gradient of base noise to change the ratio between bright and dark flames.
- tune the irregularities zoom, amount and blend mode to get a wild aggressive fire (0; 0.4; hard light) or something more voluptuously quiet (1.9; 0.5; composite)
- make your high flames more realistic by coloring the high flames region with a vertical gradient, dark grey on top, white at the bottom.
- simulate wind (ie. change the direction of the flames) by adapting the slope of moving base' and irregularities.
A few fun but less realistic tunings:
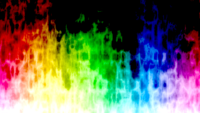
- play with the color of fire color to get a blue or pink fire.
- check turbulent of base noise and/or irregularities noise to get a psychedelic effect.
- set any place of the picture to fire just by adding a light gray spot below fire color anywhere, just as we did high flames region in step 3.
Galerie
You used this technique? Leave a link here and a few hints in the talk page!
- Everything burned... even the text, in Raging Fire, the source of which can be found in the Synfig forum.

